Do It Yourself Know-How, Projects
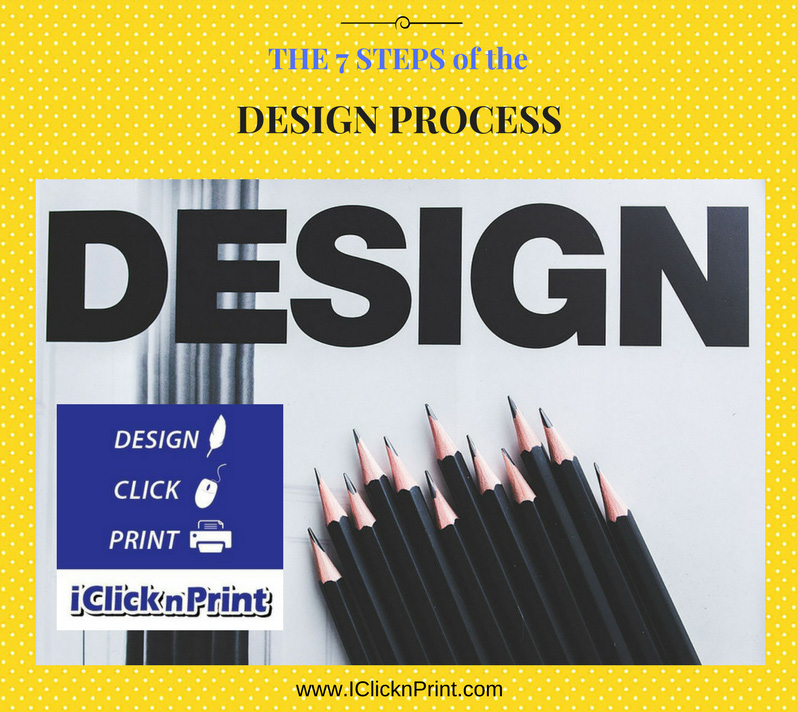
The Design Process in 7 Steps
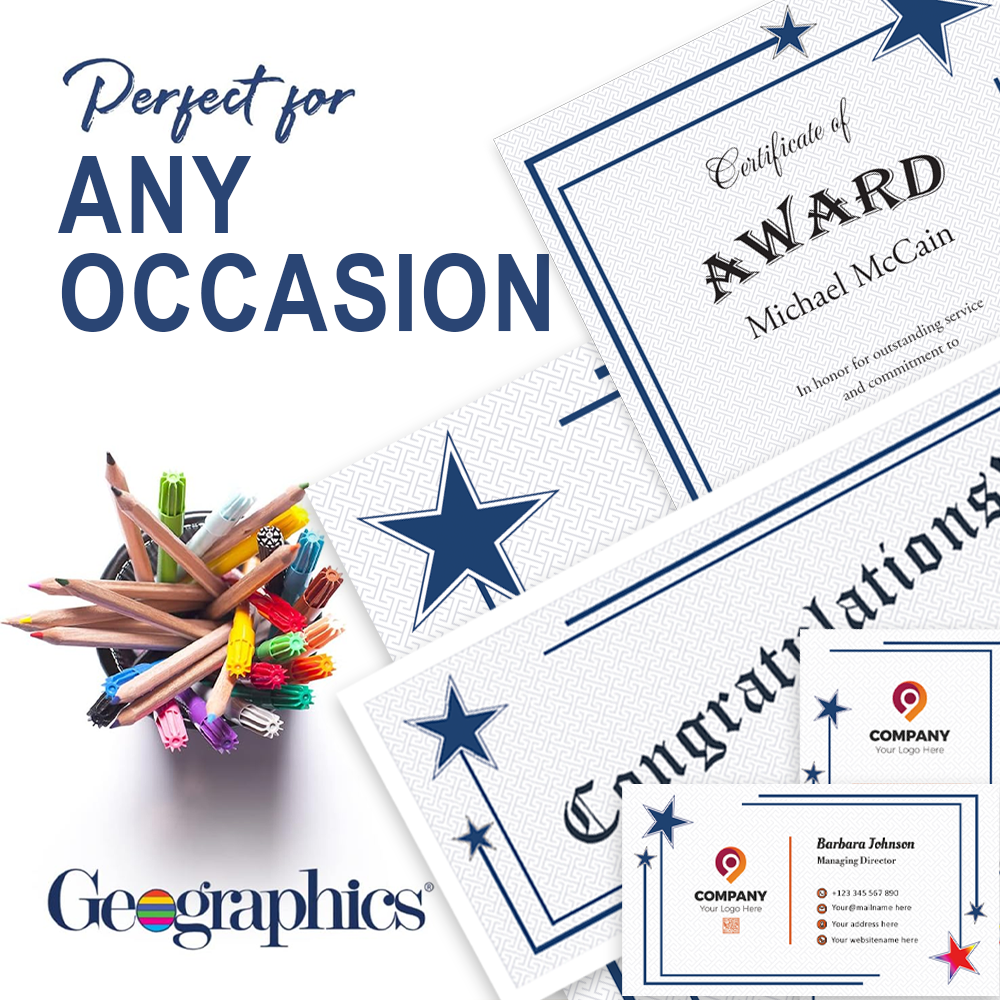
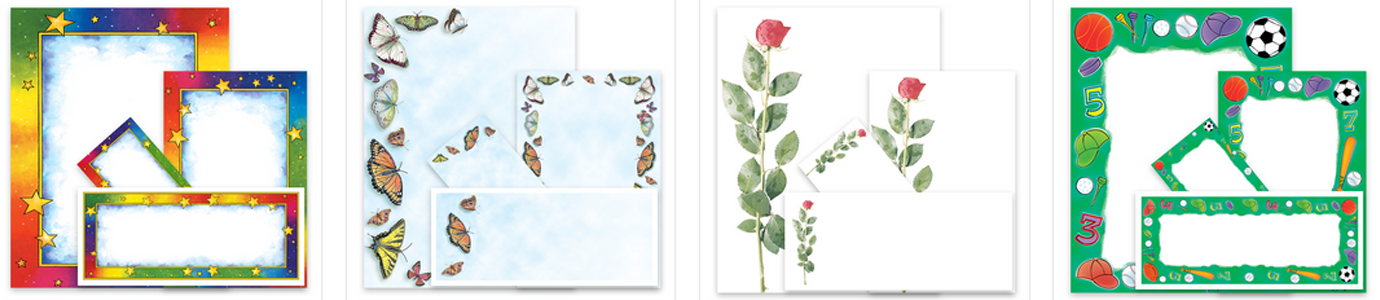
IClicknPrint Design Center has just released a new and user friendlier HTML version, now in Beta. Check it out at iclicknprint.net. Customize Geographics printable stationery, Geographics Award Certificates and Royal Brites Photo Paper, and Display Board, Poster, Foam and Project Board. You can create great projects so, we though we would recap a little:
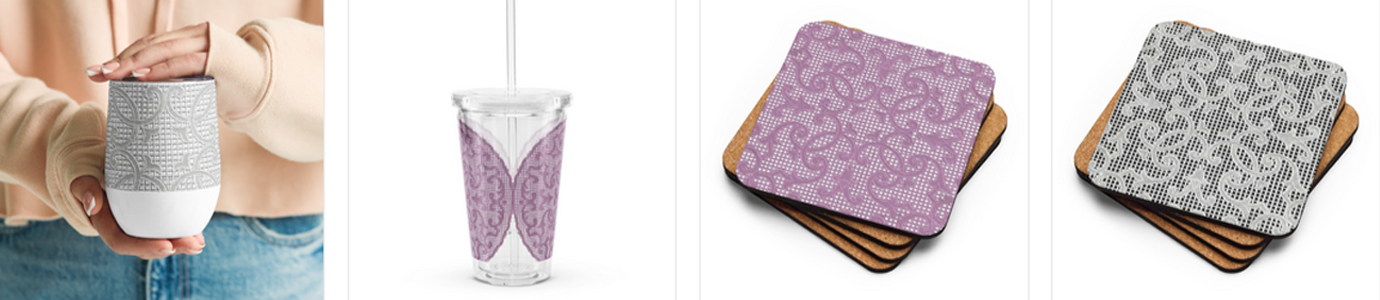
Customize Products in iClicknPrint
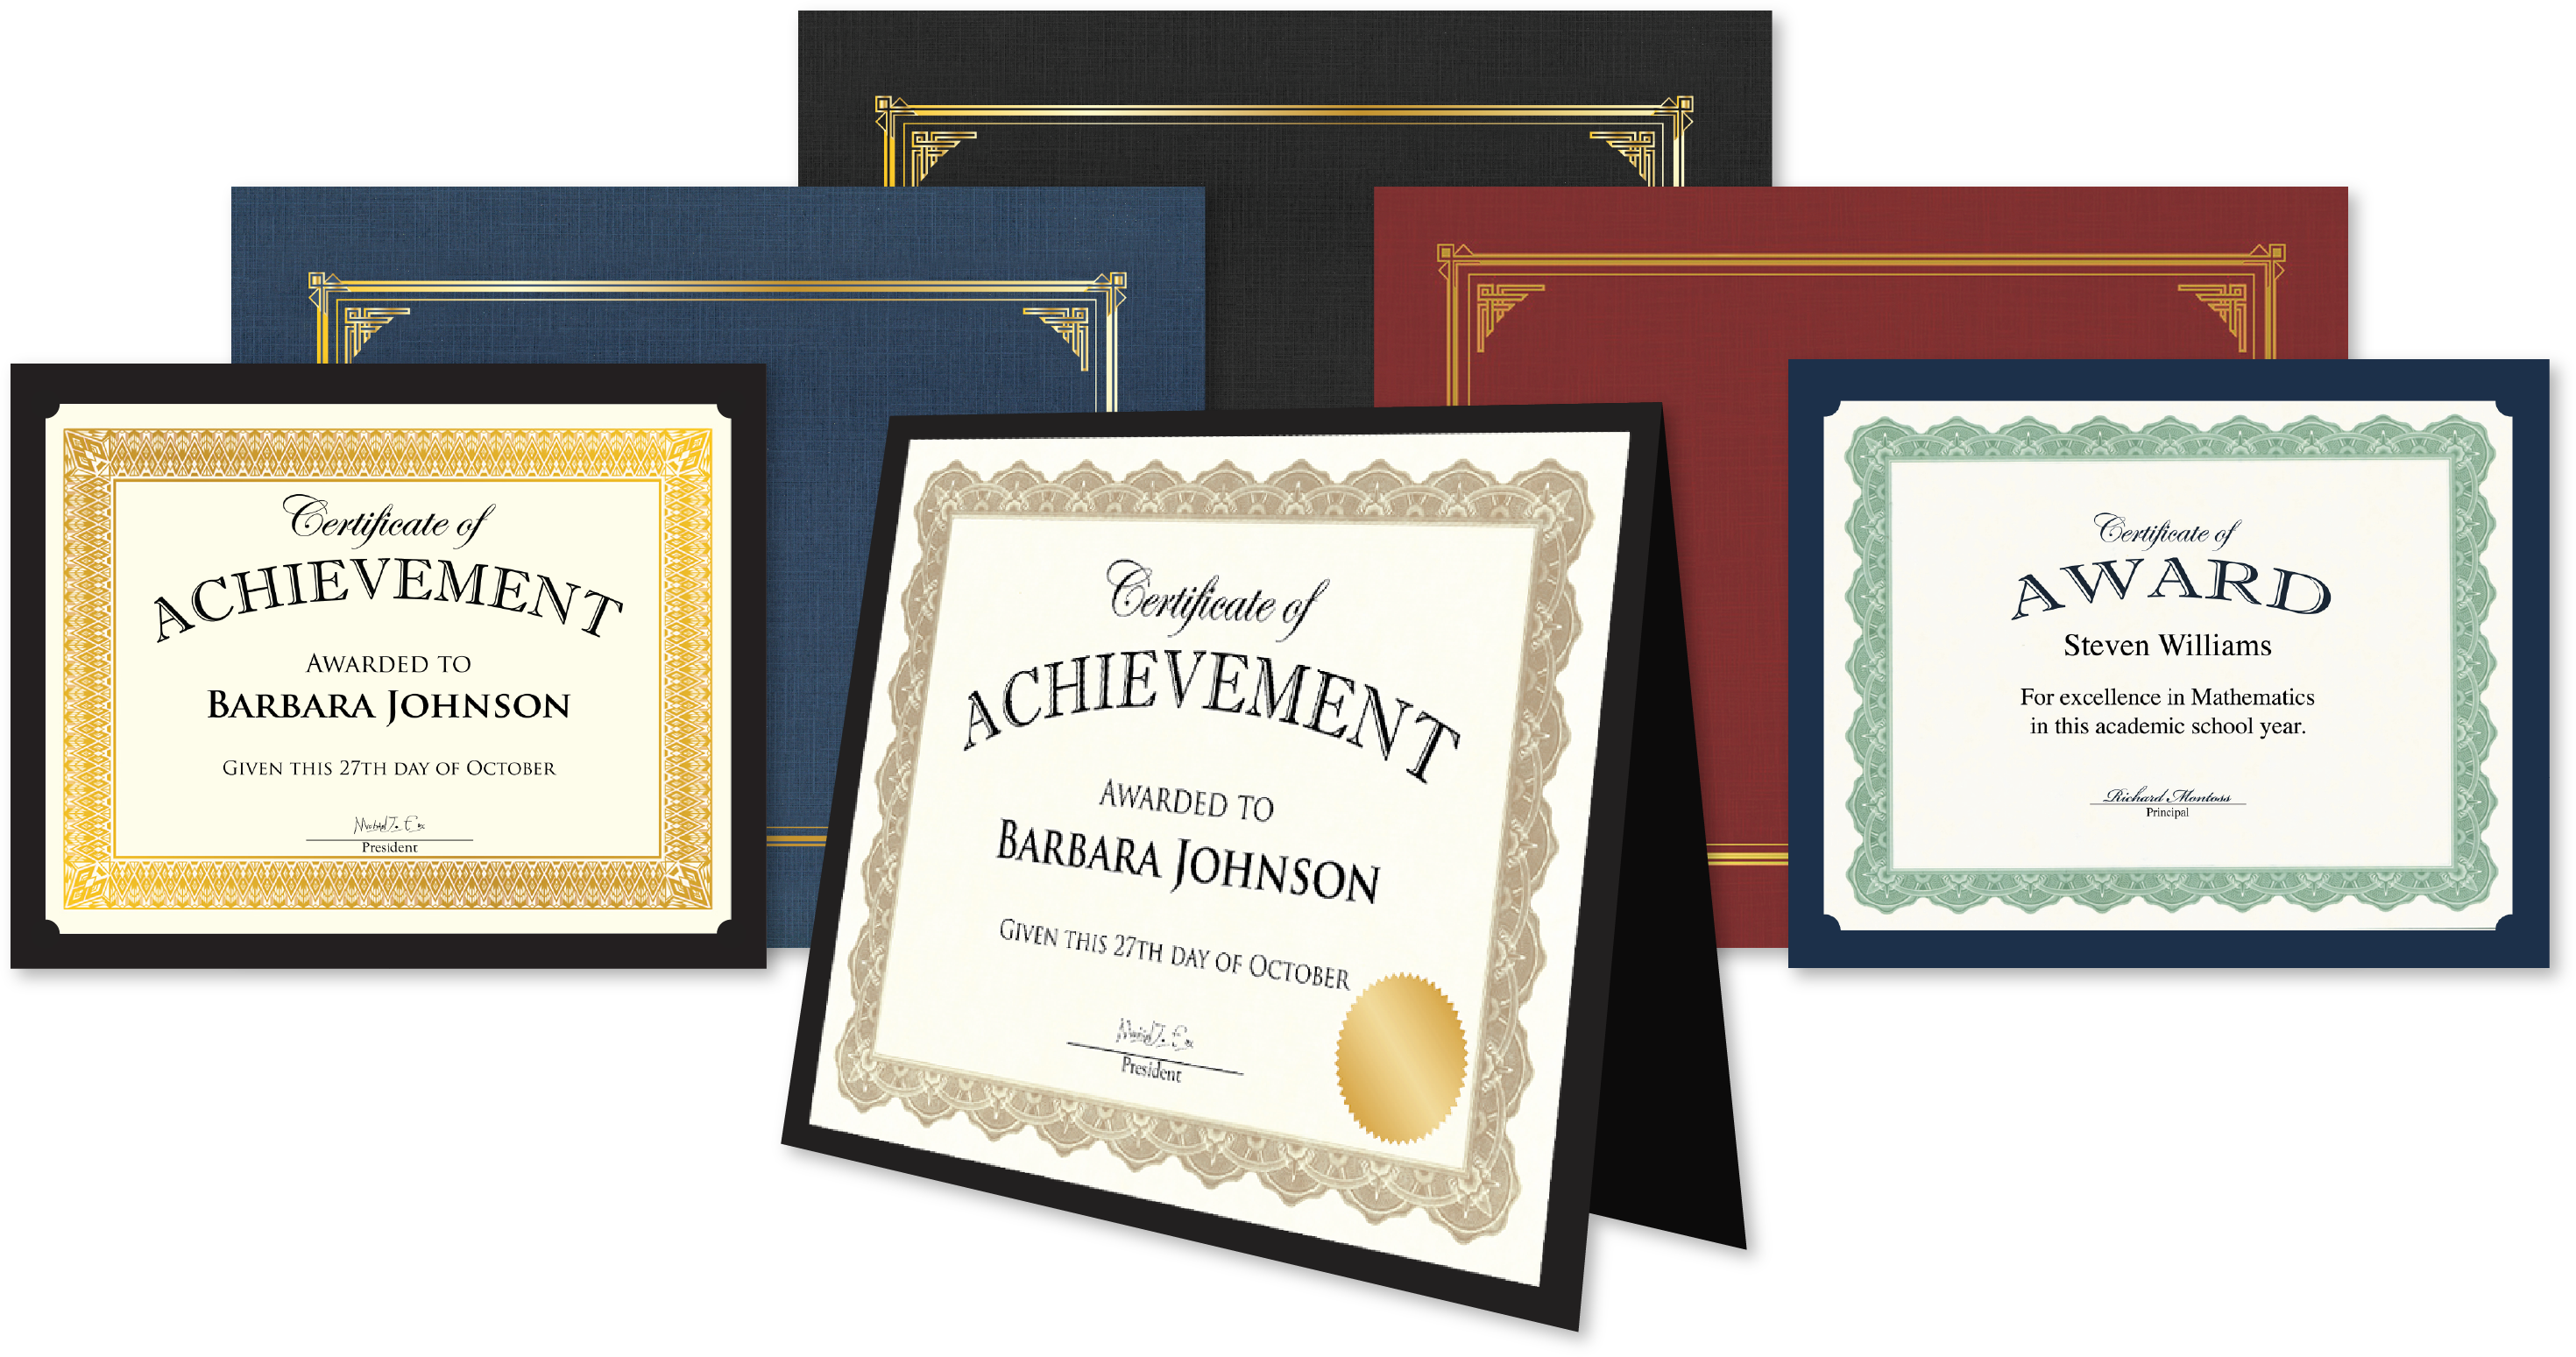
Get Geographics®️ Products
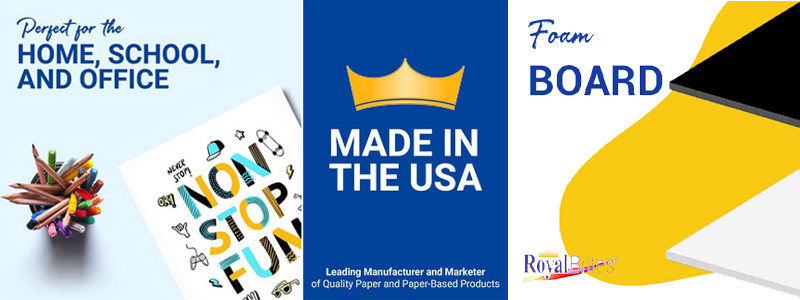
Get Royal Brites®️ Products
If in our previous Iclicknprint blog article we’ve touched upon a few essentials of graphic design and defined elements such as line, color, space, etc., this post may help you with the design process as an iterative series of steps leading to the creation of a new product or approaching your target market with a newly designed marketing material.
Learn the 7 Steps of the Design Process:
Define
Look at the assignment or the “problem”. Seek to understand its scope, your target audience and the constraints. The more thorough this stage is, the more chances you have to come up with a successful solution. Saying something like “I want to put together a cool product brochure” will not get you very far unless you properly define what “cool” means.
Research
This is the stage where you need to look deeply at our target audience – who will “consume” your product, what is their lifestyle, their education level, their aspirations, their habits. In other words, who are you targeting with your product brochure, web page or presentation and what do I already know about these people who represent your target market.
Ideate
Potential design solutions or variations are created at this stage. Ideas are created through brainstorming, sketching ideas, adapting a tried-and-tested design that already exists, etc. Ideation should be the fun part of the whole process. Arrange a successful brainstorming session with all parties that need to get involved in the design process and who understand the market needs.
Prototype
After generating a few potential solutions during the previous stage, you can choose one or two best ideas to develop further, to provide a better starting point for selection. These ideas are turned into prototypes that will then be tested – after choosing two or three different design concepts.
Select
Choose which design versions you have prototyped will be taken further. The key in making the decision is answer an essential question – it this solution fit for purpose? You might like a certain design style or function but how appropriate is it for your target audience? Will your customers like it and, more importantly, how will they respond to it?
Implement
Develop the actual product. For example, for a brochure add the final copy and images, proof it and send it out for printing print it yourself, in-house, using iclicknprint.com or Geographics templates.
Learn
For any company, this final stage is one where the team learns from what has happened during the design process, where they might seek feedback from the client or customer. The generated feedback can serve as a learning opportunity for future projects. In his book, The Shape of Design, Frank Chimero talks about the design process as a dance. He says: “Dancing requires music, and we each have our own song. These songs are the culmination of our individual dispositions […] and a demonstration of the lens we use to see the world.” So, what are your dance moves?
References: Frank Chimero – The Shape of Design; Gavin Ambrose & Paul Harris – Design Thinking